Saturday, April 14, 2012

Craft Room

As mentioned in my last post, I've recently finished my craft room! I've been waiting to get a few great photos, but just can't wait any longer to share the finished product!
My last roommate had painted the wall green, and I already owned a white desk and bookshelf for the space.
I needed large works spaces for my paper crafting, a place to leave out my Cricut and sewing machine, and some good storage for all of my embellishments.

For Christmas I got some of the Martha Stewart Living Craft Furniture from Home Decorators Collection, and I love it!

 I made some tissue paper pom poms and hung them from the ceiling.


I love that the MSL craft line has such great storage, and looks great as well! I debated for a long time between the green finish and the white but I love the clean look that the white gives off. Add a few canvas storage bins from Target in coordinating colors and it's done!
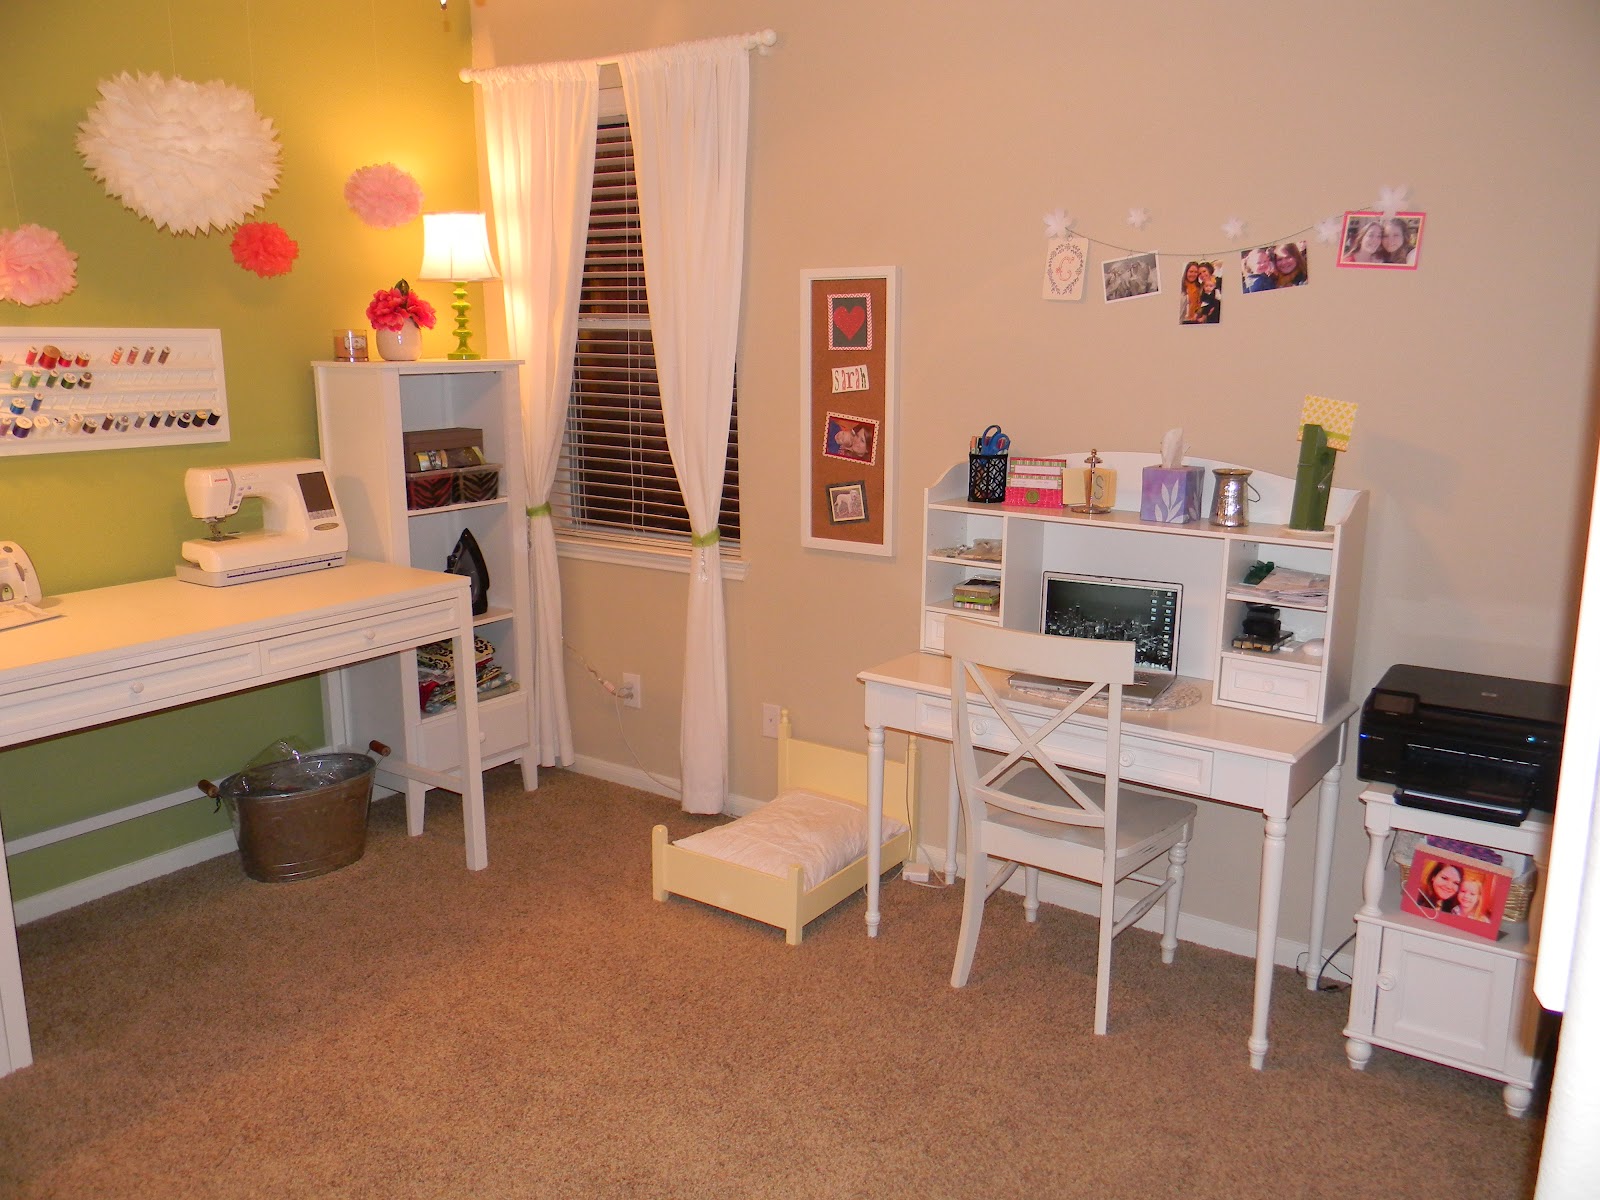

I've still got room for my desk, Willow's bed and a printer. I love having a space to do my 'work' at home and to also craft and create!


One last picture.....

I recommend the Martha Stewart Living Craft Furniture to any crafter looking for a good workspace that double as great organization!


                                                  ---Fluffy white dog not included :)---

Tuesday, April 10, 2012

Lisa's Shower

In just two short weeks my roommate will be getting married!!! Although I'm SUPER sad that she'll be moving out, I couldn't be happier for her! I have loved getting ready to be a bridesmaid and had a great time planning a bridal shower for her. Along with a few of the other bridesmaids, and some of the groom's family we put together a country chic theme and showered her with gifts on March 31st.

The party was hosted at the clubhouse in my neighborhood. We had about 20 guests and enjoyed munching on brunch while Lisa opened gifts. One of my co-hostesses, Jennifer planned a really cute game that involved 'staches and lips. Guests had to guess what Lisa and her fiancee might have said when asked a series of questions. I was running around getting things as I had envisioned, so I didn't really get many pictures, but here are a few of the ones I did snap.
 Guests were given a blank recipe card with their invitation, I asked them to fill in a favorite recipe and bring it back to the shower for Lisa and Byron to enjoy! Great guest book alternative...


Some girly decor to add to the already 'country' clubhouse. Banner had Lisa & Byron's names...


Jennifer and Me


Sweet Jake and his mommy Jill. 

 Bride to be and her mom, Beth

My mom, Carol Rovell


 The 'stache and lips game Jenni made. Super cute!
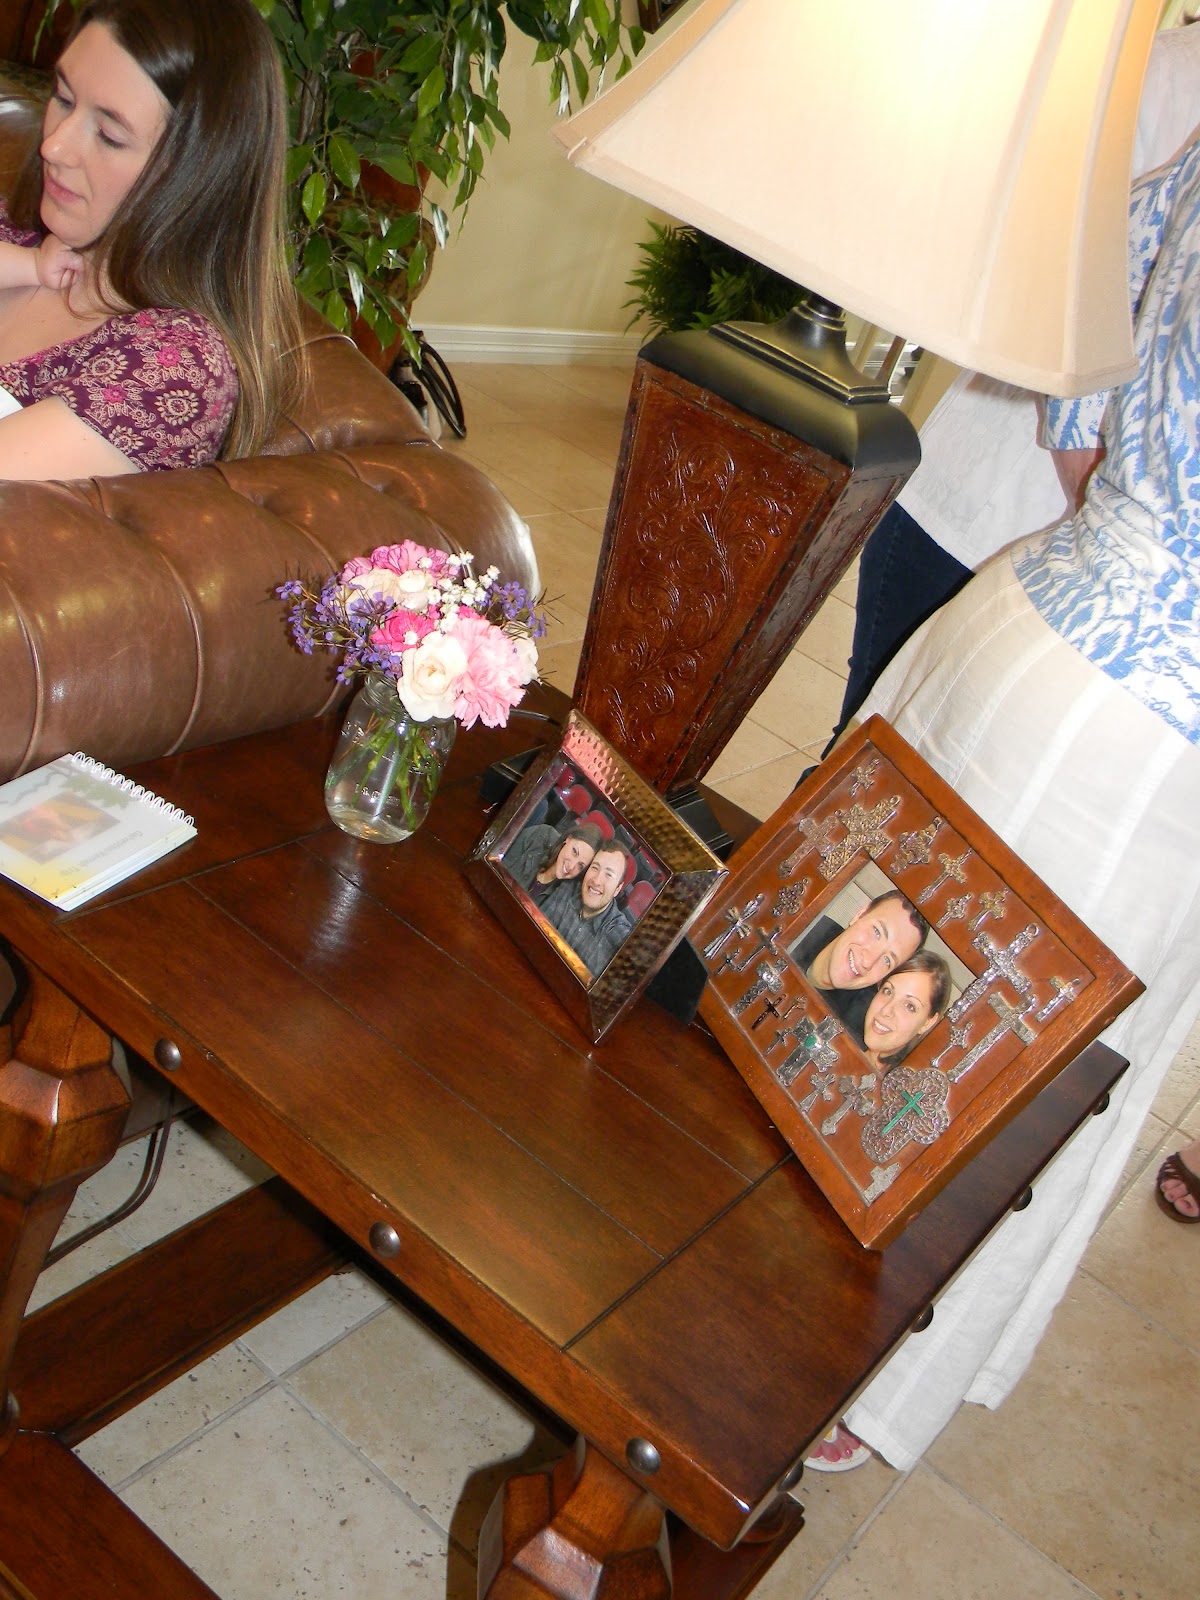
 Lots of pictures of the cute couple in frames around the living room

 Yummy brunch! Lots of fruit, muffins, yogurt parfaits, waffles, quiche, and a juice bar!

 Gifts for the bride above, and gifts for our guests below. Each guest got a Mason jar cookie recipe to take home and make 'Cowgirl Cookies' YUM!

I had a great time planning fun and sweet things for my sweet roommate! I've been so thankful that God brought her to live with me! More to come from her upcoming wedding...


What happened to this blogger???

Here's my first attempt to catch up, a post I wrote about two months ago...


I've just been lazy, and busy. That doesn't make sense.
Anyway...
Rather than be overly ambitious and try to post about every event that's happened over the last 4 months I'm going to just hit the highlights.

Craft room
After my BFF Jenni moved out, I had an extra room in the house. I decided that rather than look at an empty room that reminded me of my friend, I'd change the space up and make a craft studio.
I previously had a little craft setup in my closet, so I moved my desk, shelf and printer table into the room to set up craft shop. It still felt pretty empty.
Then I discovered the Martha Stewart Living Craft Space collection and I was in LOVE!!!
I sketched and drew the room's layout, configuring the space to meet my crafting needs, and finally selected 3 pieces I wanted for my craft space! I bought the desk in the fall, and my parents bought the other two as my Christmas gift, so happy!!! Pictures coming soon...


Weight Watchers
Back in September my friend Jenni convinced me to go to a Weight Watchers meeting with her. She had been on the plan for a few weeks and was losing weight pretty consistently, so I decided I would give it a shot. I signed up online and 18 weeks later I've lost 20 pounds! My clothes that had been tight and uncomfortable are now baggy and just about too big. I feel lighter, have more energy and just started working on an Ease into 5K program that has helped me begin running. My sister in law Gina and I plan to run a 5K this spring, I'm so excited to complete my first run with her! Gina has been such an encouragement to me as I work to be a healthier person and I can't think of a better person to do the race with!
I'm really enjoying Weight Watchers, and have loved that while doing their plan I have never really felt like I'm on a diet. I can eat anything, but this has taught me the importance of portions and planning ahead.
Here's me last summer before I started my weight loss journey-

Here's my current self, 20 pounds lighter! Still a lot of weight to lose, but I'm enjoying the compliments of my friends and family who can see that I've made a change!


Catching Up

My sister in law's return to blogging has inspired me to get back to my own! I can't promise any sort of order, or even a complete update, but there are a few things I've had on my plate to add to my blog.
Enjoy!

Saturday, October 8, 2011

Fumpkin Characters

I want to share an activity we did at work this week that turned out to be pretty easy and super cute!
We have a volunteer group from BP that comes once a month to do activities with or for our patients. This month we put them to work decorating fumpkins (faux pumpkins- thank you KB for that word!)  to make them resemble popular children's book characters. Here's how it goes...
First choose your characters-
101 Dalmations Puppy
Toy Story Alien
                                                         
The Grouchy Ladybug


Buy craft pumpkins, tempera paint, Crayola model magic, pipe-cleaners, and googly eyes. You can get creative and add more embellishment, but those were our basic supplies for each character.

 Depending on your character choice, you may need to paint your fumpkins. We painted mini fumpkins green to make the Very Hungry Caterpillar's body.

Glue on some felt, pipe cleaners, and Model Magic to create the character! 

Set out with the book and enjoy! 

I might have made the caterpillar a little more curvy, but he's pretty cute in the window!
Hint- we attached his body with popsicle sticks
Kids will enjoy reading the book while hanging out with their fumpkin character! Our patients had a blast doing this, and we've put all of them on display in our library. In a few weeks we'll have story time and give away the characters to our patients!
I have to say, the Toy Story alien, and the dalmation in the left side of this picture were two of my favorites!!
Oh, and the best part is, they won't rot so you can keep your character all year!

And then there were two...

Today is a sad day in my home! As of this evening I will have only one roommate. Jenni is moving out as she starts nursing school, and although I hoped she'd never leave I'm excited for this new chapter of life she is starting! So long, farewell, come over as much as you can!! You've been the best roommate, and  we'll miss you and Harlow!!!

Sunday, September 18, 2011

Pinterest

Thanks to my sister in law Jessica, I have a new obsession! It's replaced my Facebook habit, and I want everyone to join!
www.pinterest.com is a website that lets you 'pin' anything you like on the internet. Maybe a cute idea from a blog, a fun sweater to buy, a recipe for dinner, you name it!  Users create 'boards' to categorize their pins as they choose.
I've been on Pinterest two weeks now and have already found lots of crafty ideas for home, work and the holidays. Fun decorating ideas for when I start to decorate my guest bedroom, cute photography ideas for my someday wedding, inspirational messages and reminders about who I am etc etc etc!
This first thing I made didn't actually come from Pinterest, but from my SIL Jessica again. She is so crafty that girl, and every time I go to their house I come home with new decorating ideas! She made a 'What's for Dinner' board out of a large frame, a little burlap, some ribbon, and chunky pinboard scrapbooking letters.  Use a dry erase marker to write on the frame's glass and erase to change the next week!
Such a cute idea, and so helpful to stay on track with your menu planning!
Here's my copy-

This week I've also tried two new recipes from Pinterest. Such a yummy, inspiring, and better way to waste time online!


Saturday, September 17, 2011

Blonde vs. Brunette


Every 2 or 3 years I decide that I'm tired of highlighting my hair and decide to go brown.

The first year I did this was in college. I went to a stylist in town I had never used before, and it went terribly wrong! Blonde turned Ashlee Simpson black!
so many things wrong here....

The next time I had better luck, two years later when my first niece was born!
Baby Emmy! And kind of red-ish brown.

A few years later I tried again...this time it went really red!
Finally! My hair color matches my brows!
At last perfect success from highlighted blonde to my natural color. Bravo!

Eventually I got bored, and went back to my hair frying, highlighting ways.....and started this cycle all over again! Now that it's fall I've decided to go darker, and had hopes of achieving my natural hair color again...
The things us girls do...
This time, I'm somewhere in between. It's not so dark I hate it, but it's definitely darker than my natural color I showed my stylist. Every time I pass a mirror I'm shocked by the reflection I see because it's not how my brain thinks I look...but I'm getting used to it!
I'll probably be back in the stylist's chair come spring ready for the return of the blonde!

Friday, September 9, 2011

NYC Statue of Liberty/Ellis Island

Tuesday July 12, 2011

Our final day of vacation didn't actually take place in New York City.
We had tried earlier in the trip to go to Ellis Island and to see the Statue of Liberty, but the ferry lines were crazy long and we thought we'd try boarding from the New Jersey side and make a day of it on Tuesday.
So we had one final breakfast with Aunt Martha and she kindly drove us to Liberty State Park where we boarded the ferry to Ellis Island. Before boarding the ferry we walked around the Central Railroad of New Jersey Terminal where immigrants used to board trains to their new homes around the country!


The train tracks are covered with greenery now
but you can still see the signs for each track


Boarding Miss New Jersey to go to Ellis Island!
Leaving Liberty State Park
View of NYC from New Jersey

Arriving at the Ellis Island Immigration Museum
Jenni was really excited to look up the names of her ancestors
who came to America as immigrants. 
Great Hall- immigrants were lined up here to be processed

We were able to walk through several of the check points that
immigrants were forced to pass through before being allowed to enter America.

After a quick lunch we boarded the ferry again and headed over to Liberty Island to see the statue.
I bought a little light up torch for work and had to strike a pose like the lady!

Jenni at Liberty Island

Me and Lady Liberty
Fun benches on the island.

When we had seen all we came to see we rode the ferry back to Liberty State park where my cousin picked us up and drove us to the airport to fly home. It was such a fun trip! We saw everything on our list and even a few places we hadn't planned on. It's safe to say we heart NY!


And that's what I did on my summer vacation...